Taking chats guide

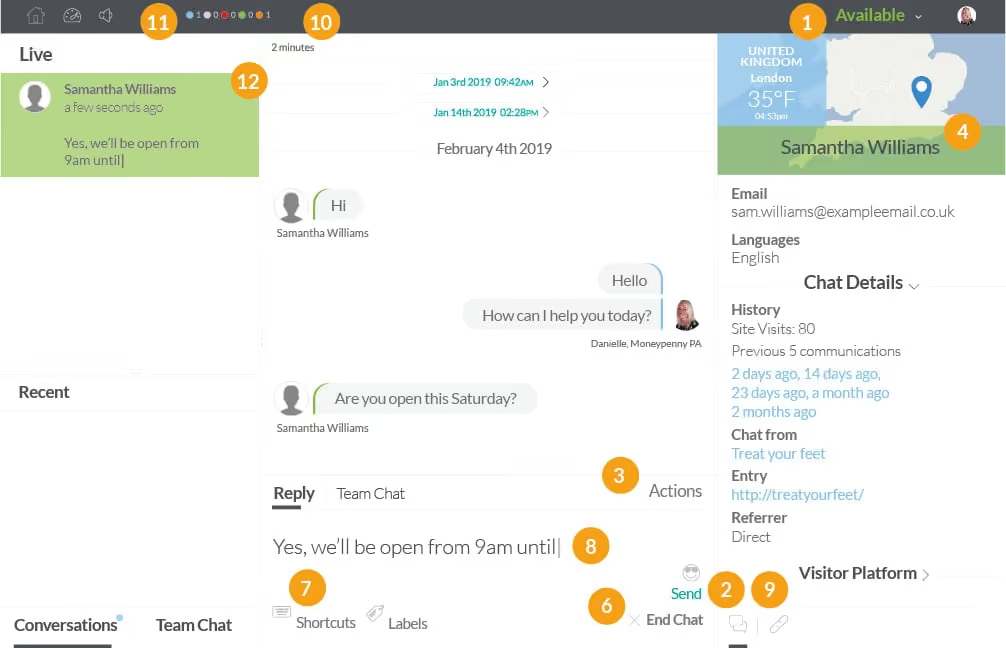
Take a tour through the chat section of your portal.
From alerts and security to shortcuts and statistics, we'll walk you through every tool within your chat section - here's how they work;
1. Agent status

Your status defaults to ‘Pause’ when you log in, change to ‘Available’ to start taking chats. Settings allows you to manage your sound notifications, desktop notifications, auto-pausing and agent information. To check and edit your agent settings, click on your name on the top-right-hand corner of the Hub. To change your visitor-facing photo you would need the administrator to do this in the Admin Dashboard, under Settings - Agent - Settings - Edit Profile). The little pen next to your name can be used to edit it, but let your colleagues know so they can transfer chats to your new name. You can also use the Auto-Pause (4) option which ensures that when a certain amount of time has passed, it will automatically pause the account. Pick a period of time to wait before pausing, or set to none which disables this.
The hub section (5.1) allows you to pick a chat sound for the various different situations. To make sure you don’t miss a chat keep these sounds switched on. You will get notified when new or returning web visitors start a chat and enabling ‘Repeat until answered’ (5.2) will make sure you are prompted until you have responded.
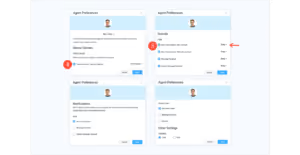
There are also a few pop-up notification options that can be seen in the above image that are simple to understand. Turning these options on means you will get a pop-up message on your screen to alert you that something has happened in your chat window. This cannot be done by Moneypenny for you as it depends on your personal browser.
2. Visitor information
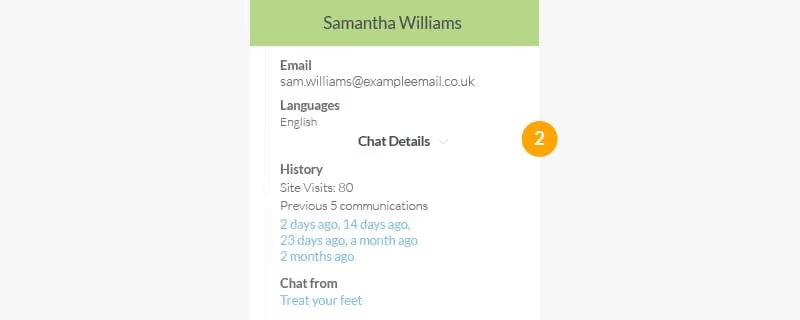
More detailed visitor information is displayed here such as location, platform, chat history, entry and referrer URLs. Any pre-chat survey details that have been entered will also appear here too.
3. Navigation bar

Where you can request or upload files; ban visitors or transfer chats.
4. Location tracker

This map shows where your visitors are located.
5. Chat box
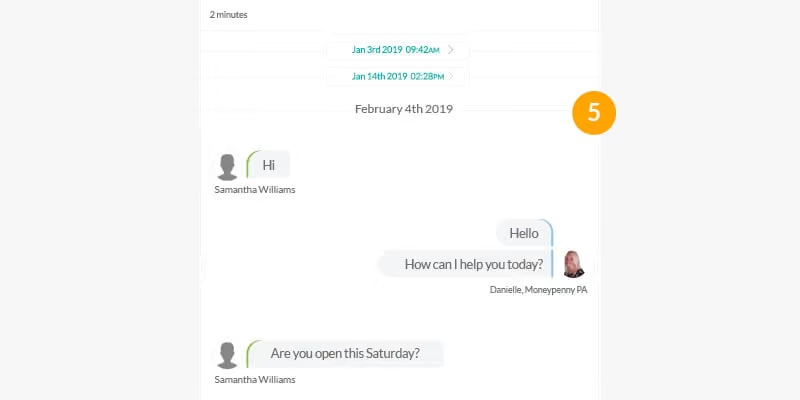
Where your current live chat is displayed.
6. Emoticons

Emoticons can be inserted into chats.
7. Shortcuts
Shortcuts will show a menu of customisable responses for the Agent to use. You can also display these shortcuts in the chat bar by typing in the ‘’ character. These can be added or edited within the Admin portal at any time.
8. Chat bar
Start chatting with your visitors here.
9. Visitor and chat data buttons

You can select Agent links (e.g. company description) or alerts (e.g. remember to ask visitor for their email address) here.
10. Mini-view bar

Tells you the status of chats and Agents available, each defined with a coloured dot –
Chat
- Blue: Chats currently in progress
- Grey: Incoming chats notified to Agents
- Red: Visitors waiting in the queue
Agent
- Green: Available online Agents
- Orange: Paused online Agents
11. Chat portal toolbar
Shows a series of icons -
- Dashboard icon: takes you to your admin dashboard, where you can view and change settings.
- Home icon: where you can view weekly chat statistics, announcements and other Portal news.
- Speaker icon: enable or disable your sound alerts.
12. Visitors panel

A list of chats you have in progress. You’re able to see the visitor’s email address (if they have entered one) here.
The Live Chat portal will quickly become your most valued tool. And we're always here should you ever need support, just pick up the phone and talk to us on 0345 123 3700. We have tons of experience, and we’d love to help you out.

Get your quote from the UK’s #1 provider today
Provide us with a few details and we’ll contact you to explain how Telephone Answering will work for your business. Alternatively, call 0333 202 1005 to find out more.
What to expect:
- Thousands of businesses on board
- Unmatched sector expertise
- Award-winning culture