


Design your own chat widget to best reflect you and your business
Creating the perfect chat widget for your website is easy.
And, what’s great? You can do it all from your online portal. From styles and designs to settings and security, you have complete control and, to make it even easier, we’ve outlined the different tools you’ll see when constructing your widget:
The Design Studio
Here you can access all of the style settings and begin designing your widget. The Design Studio will take you through a series of options so you can ensure it reflects you and your business perfectly.
To get started click the ‘Add Theme’ button which will take you to the Custom Design Tool.
Online & Offline buttons
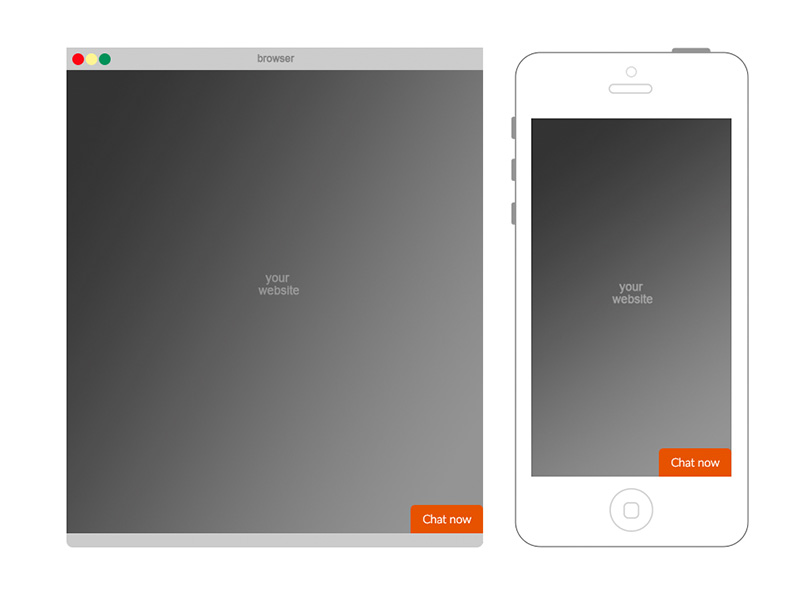
These are the live chat buttons your customers will see on your website. You can choose from different fonts, colors, positions, icons and even images.
Chat box
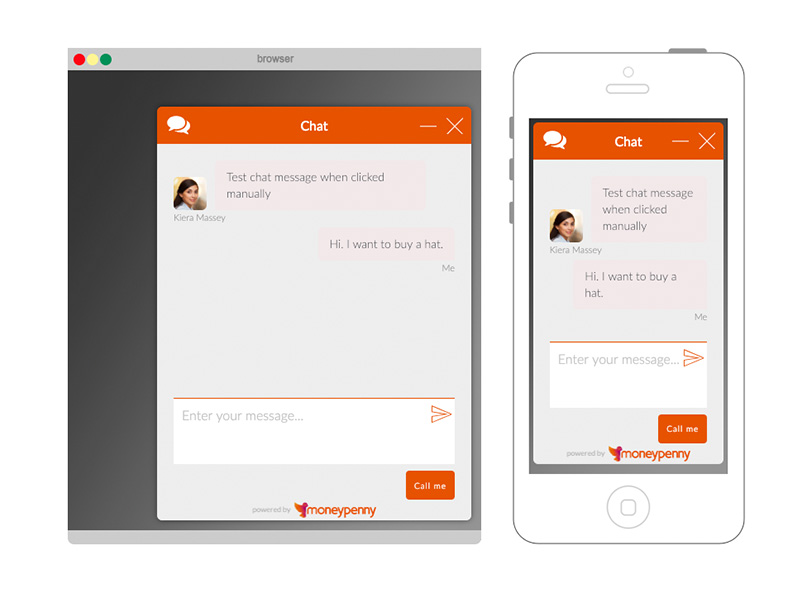
This is where your visitors chat with you. You can pick from a range of different color palettes, fonts, headers and design your send button. You’ll also decide how you want your avatar to appear and can choose to color code customer and agent messages.
Pre-chat box
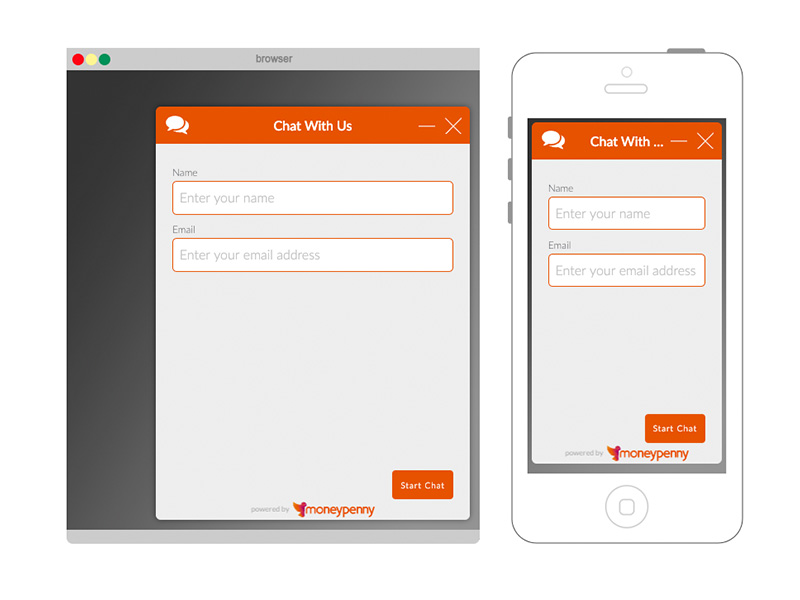
If this is enabled, this is where visitors are asked to input their details such as name and email address before entering into a chat. Should you want these to appear, you’ll have to design your pre-chat forms. Select your chosen language, settings, product dropdown options, security preferences and field designs to match your chat widget and this will automatically show before your customers join a chat.
Please note, to ensure your pre-chat box is activated you will have to manually enable it within your Style Settings.
Offline box
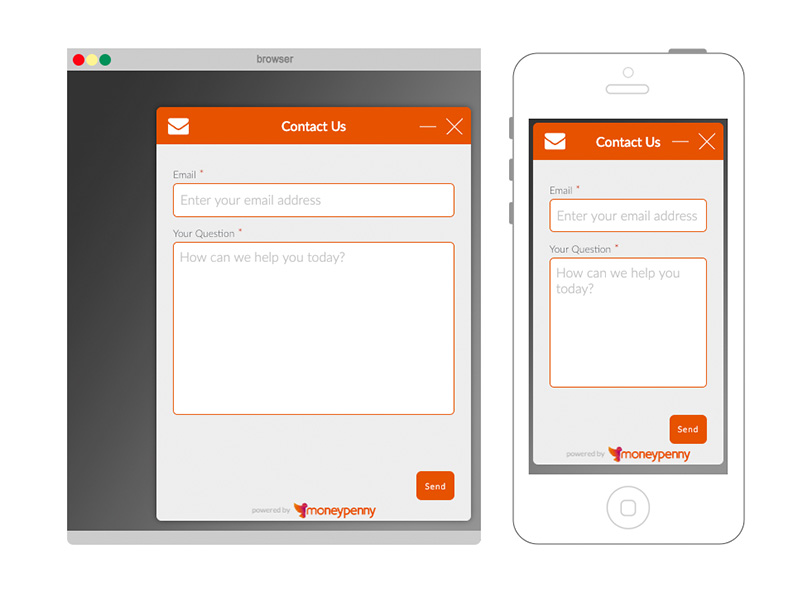
This is where your visitors can leave a message for you when you’re offline. You can also design your offline box to match the style of your widget. It’s worth saying that you don’t have to have this activated. If you choose not to enable this, whenever you’re Offline the Live Chat button on your webpage will not appear.
Save & download
When you’re happy with your design and you’ve given it a name, simply save it as one of your themes. You can design as many themes as you want and can change them as often as you need.
Proactive Chat
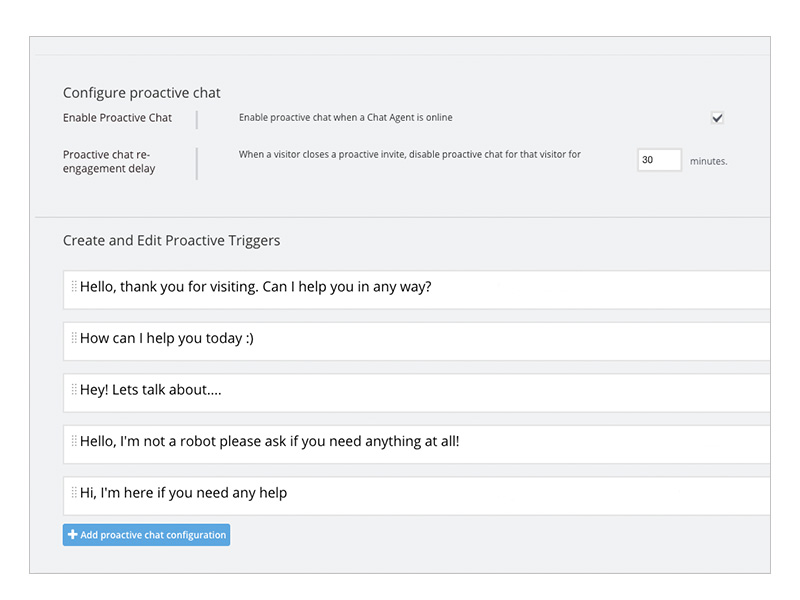
At the top of your dashboard you’ll also see a tab called Proactive Chat. Click on this to set and activate your Proactive Chats to nudge customers into a chat whilst browsing your website.
You’ll be able to choose how often you want to nudge customers into a chat; whether it’s every 5 minutes or every 30 minutes, it’s completely up to you. Proactive Chats can be turned on and off at any time. You’ll be asked to create your own Proactive Triggers, where you can decide what you want your pop-ups to say; something like ‘How can I help?’ or ‘Hi, I’m here if you need anything’, usually works best.
Discover more – watch our video on Proactive Chats and how to use them. Need support? Give one of our technical team a call on 866.202.0005 and they’ll talk you through it.